
 Along with the usual robin, early spring meant the happy return of other "snowbirds"--my grandparents Jack and Juanita. Upon retiring the two spent winters on the west coast of Florida, gladly avoiding the northern bluster. They always took orders for gifts upon their return. My brother asked them to bring home an alligator one spring. Expecting the real thing, we were fairly disappointed when they arrived with a stuffed version--but my mother was relieved.
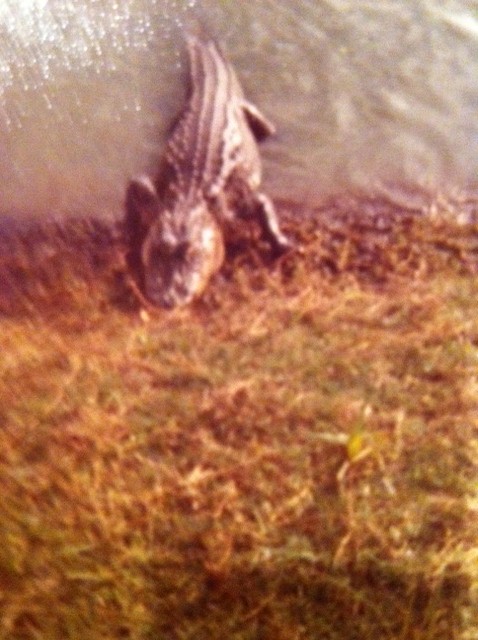
I'm sure my grandfather took some convincing to leave the live version behind. Before the days of Spirit Airlines, there was no interim commuting, so the arrival of my lively relatives meant spring and summer, with all attendant warmth was close behind.
There's nothing like the boldness of spring to jolt the senses out of hybernation. The cold sunlight bouncing off the electric golds, reds and purples of the early season jolts the gardener from the sleepy habitat of winter.
 Things move fast once the days get longer. Suddenly those seed packets on the windowsill need to do more than look pretty. Juanita had huge red hollyhocks in constant bloom behind her east end garage--back when alleys dissected the blocks. She did nothing to encourage their robust growth, but conditions were ripe for those reseeding biennials.
Fifty years later the descendants of those hardy plants have continued to reseed behind my own garage. A bright reminder of a laughing lady.
Seed starting is a quick science. Done right, the garden can boast unique annuals rarely found in the garden center, for a fraction of the price of a flat of common blooms. Favorites are "heirloom plants." These reminiscent blooms graced family gardens long before the petunia and impatiens invasion. Don't get me wrong, those beauties are wonderful additions to the garden. They are reliable, predictable, fairly low maintenance and well-tended, add immense color and depth to any garden, sun or shade. Still, it's always fun to add a few plants in which remind us of an earlier time, or are just plain unique.
One favorite is the Four O'Clock. This annual is never found in common garden flats, but the seeds are often available at big box garden stores. Four o'clocks, professionally known as mirabilis jilapa, have the unique ability to bloom several different colors on the same stem. I first met them in my Grandma Juanita's garden. They save their blooming for evening, not opening up until just before dinner. As a working parent, I would be greeted by these spunky little blooms, along with a couple bouncy little girls.
 Four o'clock seeds are rather large with a hard coated exterior. Twenty four hours before planting, nick the exterior of the seed with a knife or sharp pair of scissors then soak them in a weak tea solution. Don't use your teeth as these seeds can be toxic. This "nicking" will accelerate growth of the plant and increase the likelihood of sprouting success. Discard any "floaters."
1. Prepare the soil. No need to use expensive potting soils, just garden soil mixed with compost or sand to lighten it. Fill paper cups, egg cartons, or any suitable container, tapping the filled pot until the soil settles. Poke some small holes for drainage, and set in a larger container such as a yogurt container for drainage, and to avoid dripping windowsills. Water the soil and allow it to settle and drain before planting. This the soil from washing off the top of the seed.
2. Plant the seed. Tamp the seed in with the eraser end of a pencil to just below the surface.
3. Location. Set on a sunny windowsill and go do something else for several weeks!
 4. Water. Don't overwater, just keep the soil moist. No plant food needed yet.Keep the soil damp but not soaked. If going out of town, put a dome of plastic wrap or clear plastic material over the top for a few days to retain moisture and create a mini greenhouse, but move the plant out of direct sunlight until your return
 5. Pinch Back. Seedlings get leggy, so after the initial sprout is four or five inches high, cut it back to a Y junction, and continue to do so until the plant is bushy.
6. Harden off. Tender seedlings fare far better if they are gradually allowed to adjust to outside temps. On a sunny warm afternoon set the plants outdoors for an hour. Let them spend the night in the garage when the air begins to warm.
7. Plant. Plant in a sunny area, ideally as a border or near rocks.
8. Shelter. Once planted, invert the bottom half of a plastic gallon milk container or empty plastic plant pot over the plant for a couple days.
9. Enjoy. Once plants take, they thrive without much fuss. Not much water or collateral food sources required.
 Four O'Clocks bloom through fall, never need deadheading and left on their own, they often reseed.

 Pulling into the garage at the end of a workday, a quick hello from the bright hollyhocks fanning out across the back window is a brief reminder of a lovely lady.
More Articles of Interest:
Vintage Gardens Spider Plants and Fancy Pants
Gnomes Get Kids Gardening!
Create A Memory Garden
Impatiens Disease -- Trouble in the Landscape
No comments:
Post a Comment
Please provide your comments below: